
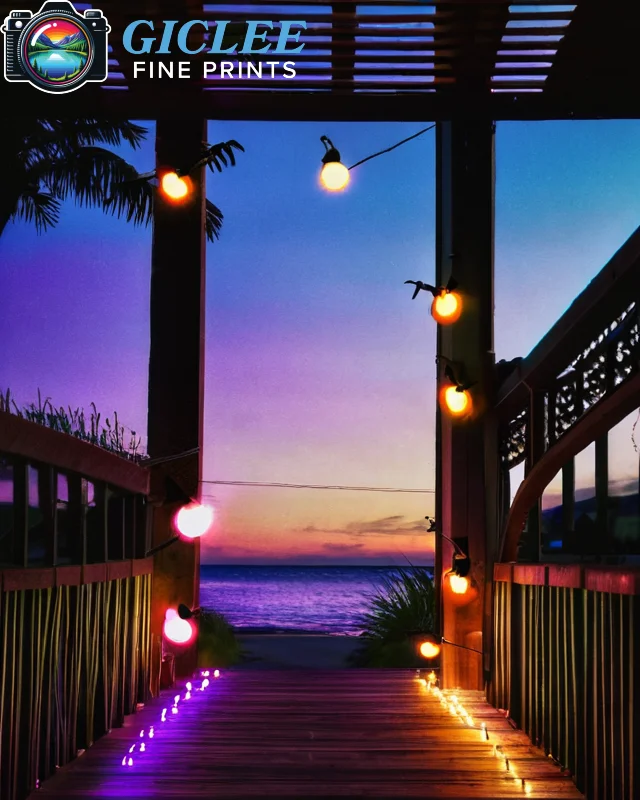
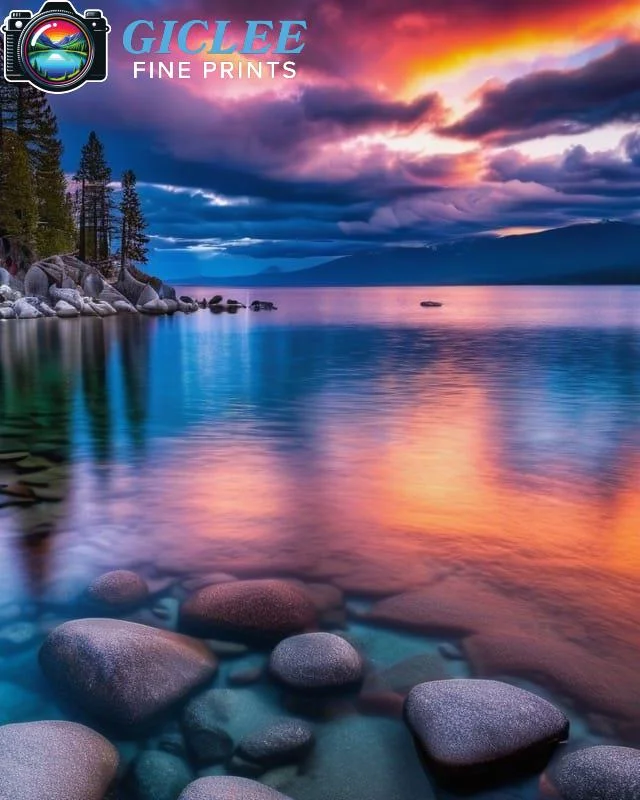
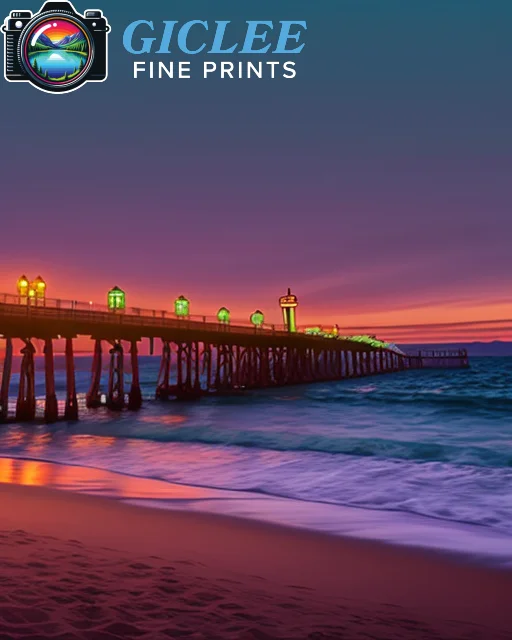
When creating high-quality prints from digital artwork or photography, understanding the pixel requirements is essential for ensuring the final print looks sharp, vibrant, and professional. Whether you’re printing on canvas, fine art paper, metal, or card stock, the resolution and pixel dimensions of your digital file determine the clarity and detail of the printed piece. At Giclee Fine Prints, we focus on optimizing your images to meet the specific pixel requirements for stunning print results.
Understanding Print Resolution: DPI vs PPI
The two key measurements to understand when preparing your file for print are DPI (dots per inch) and PPI (pixels per inch). Both refer to the resolution of an image, but they are used differently:
- DPI: Refers to the number of dots per inch in a printed image. Higher DPI means more detail and clarity.
- PPI: Refers to the number of pixels per inch in a digital image. Higher PPI means greater pixel density, resulting in sharper, more detailed prints.
For high-quality prints, the standard resolution is 300 DPI. This ensures that the printed image will appear crisp and detailed.
Calculating Pixel Requirements for Specific Print Sizes
To determine the pixel dimensions required for a specific print size, multiply the intended print size (in inches) by the recommended DPI (300). For example, if you’re printing a 10×8-inch image at 300 DPI, you’ll need a file that is at least:
- 10 inches x 300 DPI = 3000 pixels (width)
- 8 inches x 300 DPI = 2400 pixels (height)
So, for a 10×8-inch print, your image should be at least 3000 x 2400 pixels to achieve a high-quality result at 300 DPI.
Consider the Viewing Distance
The required resolution can vary depending on how far away the print will be viewed. Prints that are meant to be viewed from a distance, such as large posters or billboards, may not need as high of a DPI as smaller, close-up prints.
Key Tips:
- Close-Up Viewing (Artwork, Photography): For prints that will be viewed up close (e.g., gallery art, photography), a resolution of 300 DPI is ideal.
- Distance Viewing (Posters, Banners): For larger prints that will be viewed from a distance, you can often reduce the resolution to 150 DPI without noticeable loss of quality. For example, a 24×36-inch poster at 150 DPI would require 3600 x 5400 pixels instead of 7200 x 10800 pixels at 300 DPI.
Best For:
- Large-scale prints such as posters or banners, where viewers won’t notice small details at a lower DPI.
Upscaling Digital Files
If your image doesn’t meet the required pixel dimensions, you can use software to upscale the image. However, this process can sometimes reduce the quality, introducing pixelation or loss of detail. Tools like Adobe Photoshop and specialized software like Topaz Gigapixel AI can help increase resolution while minimizing quality loss.
Key Tips:
- Use High-Quality Software: Photoshop’s “Image Size” feature with the Preserve Details 2.0 setting allows for more effective upscaling.
- Avoid Over-Resampling: While software can help increase resolution, resampling too much can result in a loss of sharpness and detail. A general rule is to avoid increasing an image’s size by more than 200% unless using AI-based upscaling software.
Best For:
- Artists and photographers who need to print larger pieces but only have lower-resolution images.
File Formats and Compression
To maintain quality when preparing your image for print, choose the right file format. The most commonly used formats for high-quality prints are TIFF and JPEG.
Key Tips:
- TIFF (Uncompressed): Ideal for large, high-resolution files, TIFF preserves all the details and color data without compression. This is best for fine art prints, where every detail matters.
- JPEG (Compressed): JPEG files are smaller and more manageable for printing, but compression can cause a loss of detail, especially if the image is resaved multiple times. For prints, always save JPEGs at the highest quality setting to minimize compression loss.
Best For:
- TIFF for fine art prints or giclee printing, JPEG for general photography or standard print jobs where smaller file sizes are needed.
Color Management for Prints
When preparing your digital file, proper color management is crucial to ensure that the printed piece matches the colors you see on your screen. Use color profiles to ensure consistency between your screen and the printer.
Key Tips:
- Use the Right Color Profile: Convert your file to CMYK or use a printer-specific ICC profile to ensure that colors are accurately reproduced in print. Most giclee printers use Adobe RGB (1998) or sRGB color spaces.
- Calibrate Your Monitor: Make sure your monitor is calibrated to accurately reflect the colors in your digital file. This helps you avoid surprises when the print doesn’t match what you saw on your screen.
Best For:
- Photographers and artists concerned with color accuracy and ensuring that their printed pieces reflect the intended color palette.
Print Size and File Size Considerations
Larger print sizes typically require larger digital files. If your file size is too small for the desired print size, it can result in pixelation and loss of detail. To check if your file has enough resolution for a given print size, you can use a simple formula:
Formula:
Divide the width and height (in pixels) by 300 to get the largest print size (in inches) you can achieve at 300 DPI.
- Example: A 3000 x 2400 pixel image can print up to 10 x 8 inches at 300 DPI.
For lower DPI (e.g., 150 DPI), divide by 150 instead to determine the maximum print size.
Best For:
- Photographers and designers ensuring their digital file has enough resolution to produce high-quality prints at the desired size.
Print Testing for Quality Control
Before printing large batches of art prints or photography, it’s essential to test your digital file by printing a sample. This ensures the resolution, color accuracy, and sharpness meet your standards.
Key Tips:
- Order Test Prints: Many print shops, including Giclee Fine Prints, offer test prints. This allows you to see how your digital file translates to print, making any necessary adjustments to resolution or color before committing to a full print run.
- Check Sharpness and Detail: Focus on areas with fine details to ensure they appear sharp and clear in the final print.
Best For:
- Artists and photographers wanting to ensure the highest print quality before producing large quantities or expensive pieces.
Contact Us
Our address is: 3816 Pioneer Trail Ste #3, South Lake Tahoe, CA 96150
Email: Info@gicleefineprints.com
FAQs
While you can print low-resolution images at larger sizes, the quality will suffer. To maintain sharpness and avoid pixelation, it’s best to have enough pixels for the intended print size, or use upscaling software to improve resolution.
The ideal resolution is 300 DPI for most prints, ensuring sharpness and clarity, especially for fine art, photography, or giclee prints.
You can use upscaling tools like Photoshop’s resampling feature or Topaz Gigapixel AI to increase the pixel count. However, this should be done cautiously to avoid loss of quality.