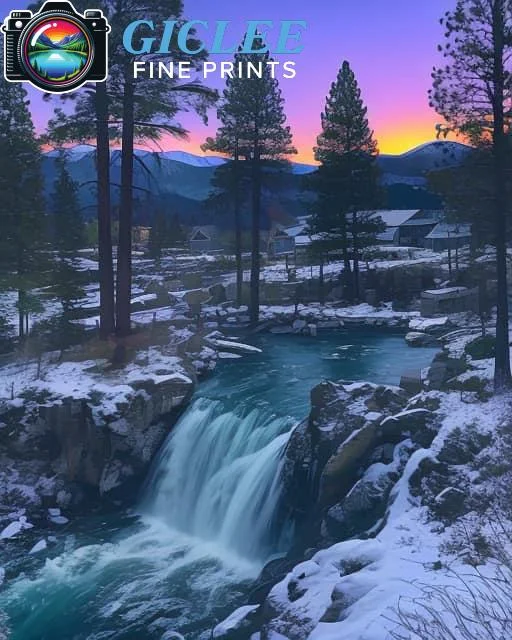
Creating your own canvas print at home can be a rewarding and fun project. Whether you’re looking to display family photos, create a unique piece of art, or give a personalized gift, a DIY canvas print adds a personal touch to your home decor. At Giclee Fine Prints, we support creativity and craftsmanship, and we’re here to guide you through the process of crafting your own canvas print.
Materials Needed
Before you start, gather the following materials:
- High-Quality Image: A high-resolution photo or artwork.
- Canvas: Pre-stretched canvas or canvas roll.
- Printer: An inkjet printer with high-quality ink.
- Canvas Paper: Specially designed for inkjet printers.
- Staple Gun: For securing the canvas to a wooden frame.
- Wooden Frame: Stretcher bars to build a frame.
- Spray Adhesive: To attach the printed image to the canvas.
- Protective Spray: To seal and protect the print.
- Scissors and Utility Knife: For trimming the canvas.

Step-by-Step Guide
Select and Prepare Your Image:
- Choose a high-resolution image that you want to print on the canvas. Use photo editing software to adjust the size and quality of the image to fit your canvas dimensions.
Print Your Image:
- Load the canvas paper into your inkjet printer. Make sure to select the highest quality print settings. Print your image onto the canvas paper, ensuring it is centered and properly aligned.
Prepare the Canvas:
- If you’re using a pre-stretched canvas, skip to the next step. If you’re using a canvas roll, cut the canvas to the desired size, leaving an extra inch on each side for wrapping around the frame.
Attach the Image to the Canvas:
- Use spray adhesive to attach the printed image to the canvas. Spray the adhesive evenly on the back of the printed image and carefully place it onto the canvas, smoothing out any bubbles or wrinkles.
Build and Stretch the Canvas:
- Assemble the wooden stretcher bars to form a frame. Lay the canvas face down, place the frame on top, and wrap the canvas around the edges of the frame. Use a staple gun to secure the canvas to the back of the frame, starting from the center and working outwards.
Trim Excess Canvas:
- Use scissors or a utility knife to trim any excess canvas from the edges, ensuring a clean and neat finish.
Seal and Protect:
- Apply a protective spray to seal and protect your canvas print. This will help preserve the colors and prevent damage from UV rays and moisture. Allow the spray to dry completely before handling the canvas.
Display Your Canvas Print:
- Your DIY canvas print is now ready to be displayed! Hang it on your wall, place it on a shelf, or gift it to a loved one.

Tips for Success
- High-Quality Image: Use the highest resolution image possible to ensure a clear and detailed print.
- Proper Alignment: Take your time to align the image correctly on the canvas to avoid any misalignment.
- Smooth Application: Smooth out any bubbles or wrinkles when attaching the image to the canvas for a professional look.
- Secure Stretching: Make sure the canvas is stretched tightly and securely around the frame to prevent sagging.
Contact Us
Our address is: 3816 Pioneer Trail Ste #3, South Lake Tahoe, CA 96150
Email: Info@gicleefineprints.com
FAQs
An inkjet printer with high-quality ink is recommended for printing on canvas paper.
Use canvas paper specifically designed for inkjet printers to achieve the best results.
Consider the space where you will display the canvas and choose a size that fits well. Common sizes include 16×20 inches, 18×24 inches, and 24×36 inches.


