
Flyers remain one of the most effective ways to grab attention and communicate your message—whether you’re promoting a local event, announcing a sale, or sharing big news about your brand. But printing the perfect flyer isn’t just about hitting “print” and hoping for the best. It requires thought, planning, and attention to detail. At Giclee Fine Prints, we’ve compiled 15 essential tips to help you master the art of flyer printing and produce designs that pop—every time.
Define Your Purpose
Before diving into design, clarify what your flyer is meant to do:
- Promote an Event: Include key details like date, time, venue, and a clear call to action.
- Advertise a Product or Service: Focus on benefits and a compelling offer to draw in potential customers.
Pro Tip: A well-defined goal keeps your flyer concise and targeted, avoiding clutter.
Keep It Simple
Avoid overloading your flyer with too many elements:
- Short Headlines: Grab attention with a bold statement or question.
- Subheadings and Bullets: Break down information for easy scanning.
- Minimal Text: Stick to the essentials—your audience’s time (and attention span) is limited.
Why It Matters: A clean, uncluttered layout ensures quick readability, maximizing impact.
Use High-Quality Images
Even a stellar design can falter with low-resolution images:
- Aim for 300 DPI: This ensures sharpness in print.
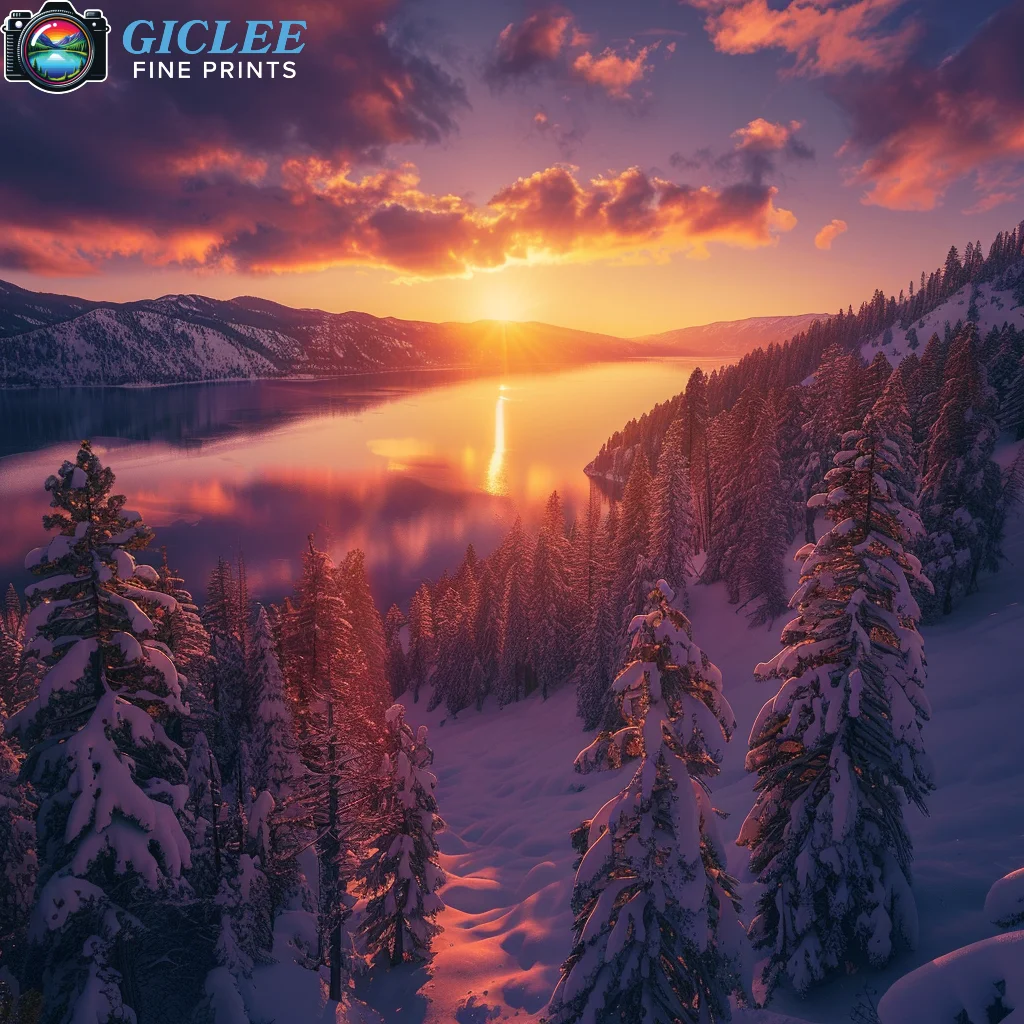
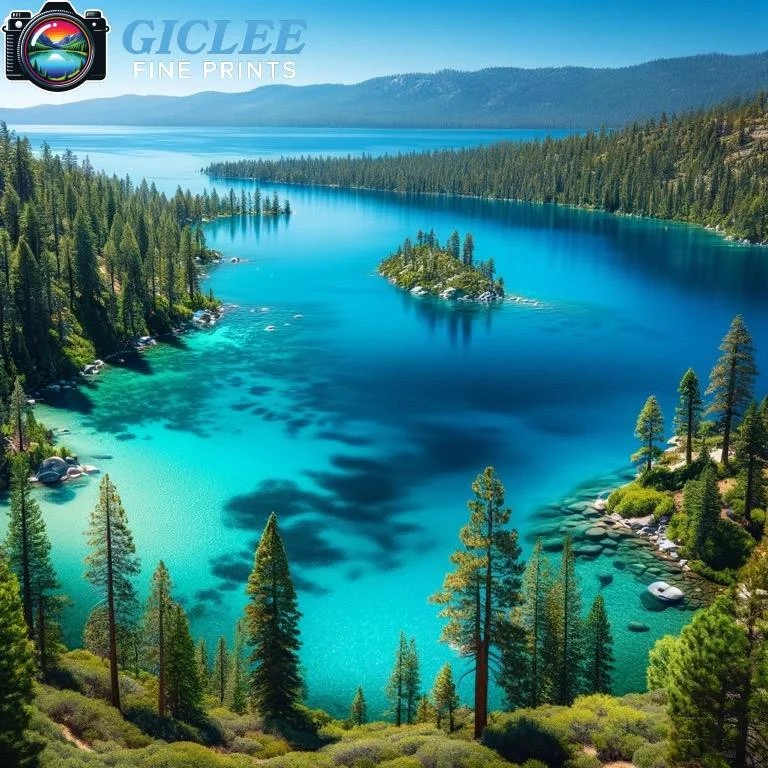
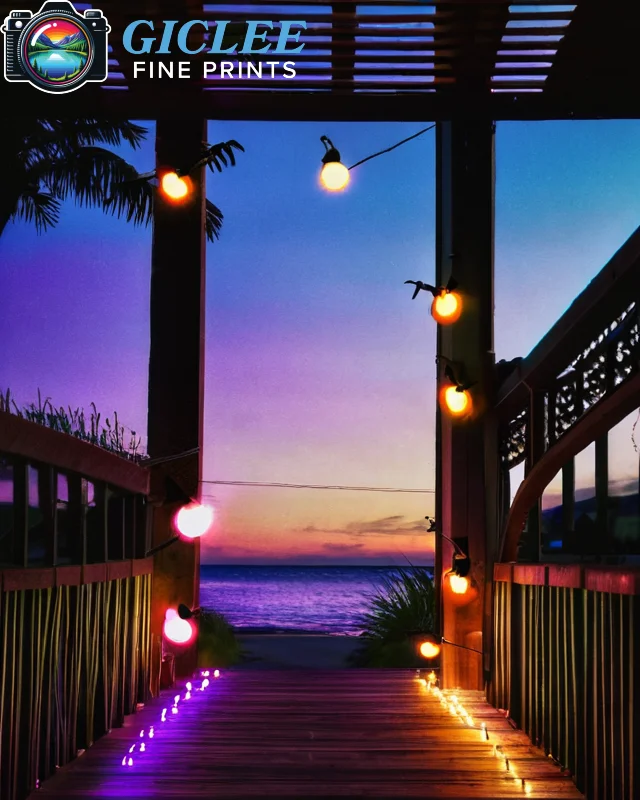
- Choose Relevant Visuals: Select images that reflect your event’s or product’s theme.
- Steer Clear of Stock Clichés: Unique, authentic images resonate more with viewers.
Result: Crisp, eye-catching images immediately elevate your flyer’s professionalism.
Select the Right Paper Stock
Paper choice drastically affects the look and feel of your flyer:
- Matte vs. Glossy: A glossy finish adds shine and vibrancy, while matte has a softer, more upscale aesthetic.
- Heavier Stock: Flyers printed on thicker paper exude quality and are less likely to bend or tear.
At Giclee Fine Prints: We also offer premium alternatives like fine art paper, canvas, and even peel-and-stick options for specialized needs.
Align Colors with Your Branding
Consistent color usage boosts brand recognition:
- Brand Colors: Incorporate your established palette for coherence.
- Contrast for Readability: Ensure text stands out against background colors or images.
- Test on Screen vs. Print: Colors can shift from RGB to CMYK; adjust accordingly.
Consider Bleed and Margins
Precise trimming is key to a polished final product:
- Bleed (usually 0.125–0.25 inches): Extend your background or images beyond the final trim line.
- Safe Zone: Keep essential text and graphics at least 0.125 inches inside the trim boundary.
Why It Matters: Prevents inadvertent white edges or missing text post-trim.
Balance Text and Visuals
A harmonious mix of graphics and text draws the eye without overwhelming it:
- Prioritize Legibility: Keep fonts large enough to read, especially from a short distance.
- Maintain White Space: Give elements room to breathe, guiding the viewer’s focus.
- Use Bullets and Numbering: Make critical information scannable.
Effect: A balanced layout encourages more people to read—and remember—your message.
Craft a Clear Call to Action (CTA)
Tell your audience what to do next:
- Single, Direct Action: Download, Call, RSVP, or Visit your website.
- Highlight Benefits: Emphasize what they gain by responding (e.g., discounts, exclusive info).
- Prominent Placement: Place your CTA where eyes naturally fall, such as near headlines or images.
Outcome: A solid CTA can significantly boost conversions and engagement.
Proofread, Then Proofread Again
Typos and grammar errors undermine credibility:
- Check Essential Details: Phone numbers, URLs, dates, and times must be 100% accurate.
- Read Aloud: A quick verbal run-through can catch errors your eyes might skip.
- Fresh Perspective: Ask a friend or colleague to review your flyer—it’s easy to miss mistakes in your own copy.
Why It’s Critical: Simple errors can cost you credibility and might require expensive reprints.
Incorporate Branding Elements
Reflect your identity beyond just color:
- Logo Placement: Keep it visible but not overbearing.
- Taglines or Slogans: Reinforce brand message.
- Font Consistency: Use brand-approved typography for a cohesive look.
Benefit: Familiar branding elements help viewers associate the flyer with your organization or product, fostering recognition.
Scale Up to Larger Formats
Sometimes a standard letter-sized flyer won’t cut it:
- Oversized Prints: Larger dimensions catch more attention, ideal for bulletin boards or window displays.
- Posters: Scale the same design for broader visibility in public spaces.
- Canvas or Metal Prints: For a high-end marketing approach or unique décor, these mediums can transform your flyer design into a statement piece.
Tip: Adapting the layout for bigger surfaces might require adjusting resolution or spacing to maintain clarity.
Factor in Distribution Methods
Tailor your design to how the flyer will be distributed:
- Handouts: Keep content minimal for quick reading on the go.
- Mailers: Use slightly heavier paper to withstand mailing processes, and consider including a coupon or tear-off section.
- Counter Displays: Incorporate vertical designs that catch attention at eye-level on store counters.
Result: Optimizing the flyer’s format and weight ensures a smoother distribution process and a better recipient experience.
Test Print Before Mass Production
Avoid costly reprints or dissatisfaction:
- Small Test Run: Check a few prints for color consistency, paper feel, and layout accuracy.
- Review on Different Devices: If ordering online, compare digital proofs on multiple screens (phone, laptop, tablet).
- Correct Issues Early: Fine-tune brightness, contrast, or text size before committing to a large order.
Savings: Catching errors early prevents wasted time, money, and resources.
Consider Specialty Finishes
Upscale finishes help flyers stand out in competitive environments:
- Spot UV Coating: Add shine to specific areas like logos or headlines.
- Foil Stamping: Metallic accents exude luxury and sophistication.
- Embossing or Debossing: Create tactile interest that invites recipients to engage physically with your flyer.
Drawback: These finishes add to cost—ensure your campaign’s goals justify the expense.
Match Print Choices to Your Message
Everything from color palette to paper choice should align with your flyer’s purpose:
- Event Flyers: Bright colors and playful fonts suit parties or festivals, while subdued palettes match formal gatherings.
- Corporate Flyers: Stick to polished, professional designs with cohesive branding.
- Artistic Flyers: Experiment with creative layouts and textured stocks, like fine art paper or textured cardstock.
Contact Us
Our address is: 3816 Pioneer Trail Ste #3, South Lake Tahoe, CA 96150
Email: Info@gicleefineprints.com
FAQs
Heavier cardstock feels more premium and lasts longer, while lighter weights are cost-effective for mass distribution.
Most printers prefer CMYK for accurate color reproduction. Check with your print provider for preferred settings.
For large or critical runs, a proof is highly recommended—it’s a small investment that can prevent costly errors.