
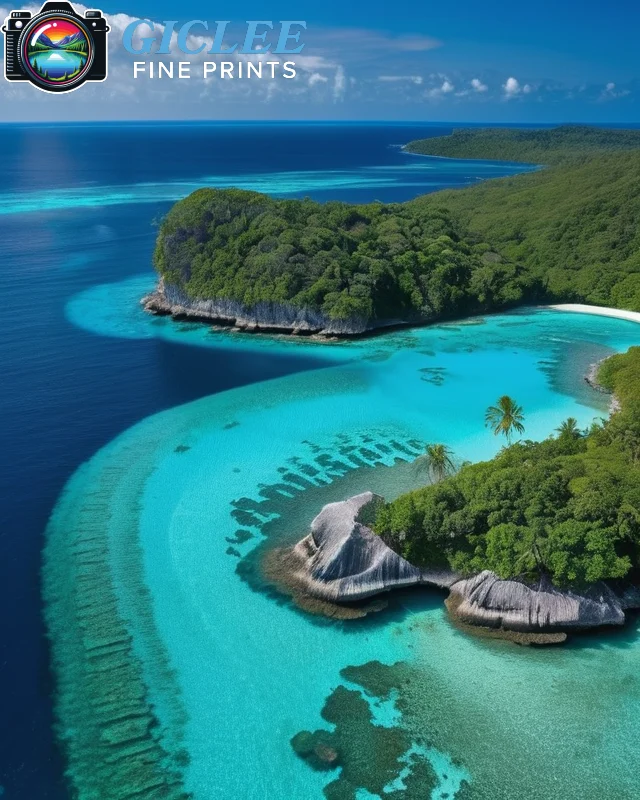
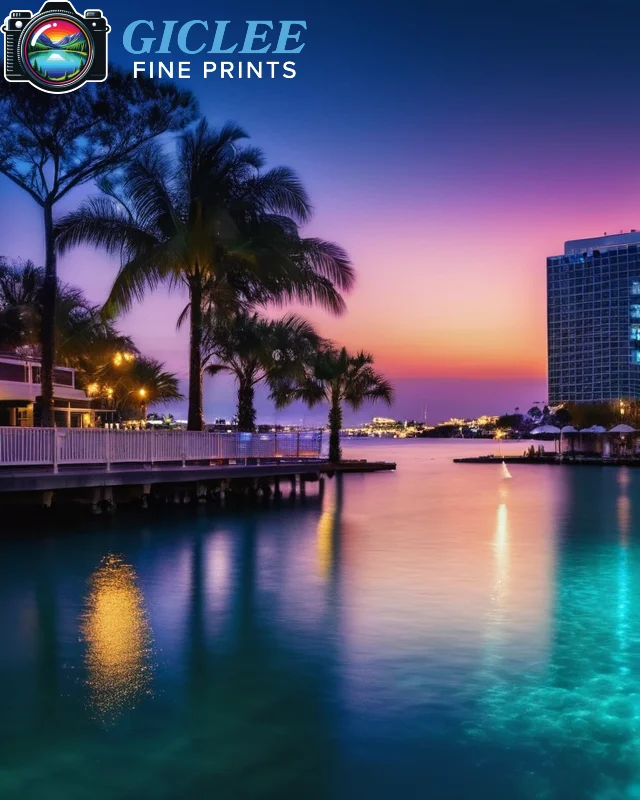
Achieving a flawless print depends significantly on the image resolution of the file you’re working with. Whether you’re printing on canvas, fine art paper, or metal prints, the right resolution ensures that your artwork or photography comes out crisp, vibrant, and true to your vision. At Giclee Fine Prints, we help you understand the importance of image resolution and how to optimize your files for the best possible print quality.
Understanding Image Resolution and DPI
Image resolution refers to the amount of detail an image holds, and it is usually measured in DPI (dots per inch). The higher the DPI, the more detail your image retains, which is crucial when preparing files for large prints.
Key Concepts:
- DPI (Dots per Inch): DPI measures how many dots (or pixels) fit into one inch of space in your image. The higher the DPI, the more detailed the print will be.
- 300 DPI for High-Quality Prints: For most high-quality prints, a resolution of 300 DPI is ideal. This ensures sharpness and clarity, especially when printing larger formats like canvas or fine art paper.
- Lower DPI for Small Prints: Smaller prints, such as posters or photo prints, can sometimes get away with a lower DPI, but 300 DPI is still recommended for the best results.
Best For:
- Photographers who want to ensure that their images maintain sharpness and clarity in large-format prints.
- Artists looking to create detailed reproductions of their work for sale or exhibition.
File Size and Print Size: How to Calculate DPI
To determine if your image has the right resolution for a particular print size, you’ll need to calculate the DPI based on the pixel dimensions of the image and the desired print size.
How to Calculate DPI:
- Pixel Dimensions: Find out the pixel dimensions of your image. For example, if your image is 3600 x 2400 pixels, you have the raw data needed.
- Divide by Print Size: Divide the pixel dimensions by the desired print size (in inches). For a 12 x 8-inch print, divide 3600 pixels by 12 inches (300 DPI) and 2400 pixels by 8 inches (300 DPI). In this case, your image is exactly 300 DPI for a 12×8-inch print, which is perfect for high-quality output.
Best For:
- Large-scale prints on canvas or fine art paper, where maintaining detail is critical to the final result.
- Photographers or designers ensuring their digital images meet the required print specifications.
Avoiding Common Resolution Pitfalls
Low-resolution images often result in blurry, pixelated prints, which can detract from the professionalism of the artwork or photo. Here are common pitfalls to avoid when working with image resolution for printing.
Key Mistakes:
- Upscaling Small Files: Avoid artificially increasing the size of a small, low-resolution image to fit a larger print. This process, known as upscaling, can lead to blurry or pixelated results because the image lacks enough pixel data to fill the larger space.
- Using Low-Resolution Files: Low-resolution files (e.g., 72 DPI or lower) are not suitable for print and should only be used for web display. For print, start with high-resolution files that meet the DPI requirements for the desired print size.
Best Practices:
- Always Use High-Resolution Files: For flawless prints, start with the highest resolution image possible and avoid upscaling.
- Check DPI Before Printing: Use photo-editing software to check the image resolution and adjust it before sending it for printing.
Best For:
- Photographers and artists working on professional or gallery-quality prints where detail and clarity are paramount.
Optimizing Image Resolution for Different Print Sizes
Depending on the size of your print, the DPI required for optimal quality can vary. Understanding how to adjust your image resolution for different print sizes helps ensure that you maintain clarity and sharpness across a range of formats.
Standard DPI Requirements by Print Size:
- Small Prints (up to 8 x 10 inches): For smaller prints, a resolution of 150 to 300 DPI is usually sufficient.
- Medium Prints (11 x 14 to 18 x 24 inches): Use at least 300 DPI for medium-sized prints to maintain sharpness and detail.
- Large Prints (24 x 36 inches or larger): Large-format prints, such as canvas prints or posters on my wall, require 300 DPI or higher to prevent pixelation, especially for detailed images.
Best For:
- Artists or photographers creating prints in multiple sizes and formats, ensuring that each retains its quality, regardless of the size.
- Custom canvas prints where large-scale printing demands high-resolution files.

File Types and Compression: Maintaining Resolution Integrity
The file type you use for your print can also affect the final resolution and print quality. Some formats compress images, leading to a loss of detail, while others preserve the full quality of the original image.
Best File Formats for Print:
- TIFF: The best format for printing, as it maintains all the image data without compression, ensuring a flawless print.
- JPEG: Acceptable for printing if saved at maximum quality (100%), but because JPEGs use compression, some image quality may be lost, making it less ideal for very large prints.
- PSD or PNG: Suitable for detailed artwork or photography, these formats retain high-quality resolution without compressing the image.
Best Practices:
- Avoid Over-Compression: Compressing files to reduce size can lead to a significant loss of detail, especially in large prints. Always save your files in the highest quality possible.
- Choose the Right Format: For the best results, use TIFF files for large-format prints and only use JPEG if it’s saved at the highest quality setting.
Best For:
- High-end photography or art reproductions where preserving every detail of the image is critical to the final product.
Soft Proofing and Monitor Calibration: Ensuring Color Accuracy
Color accuracy and resolution go hand in hand. When preparing your image for printing, it’s important to ensure that the colors displayed on your screen match what will appear in the final print. Soft proofing and monitor calibration are key to achieving this.
Soft Proofing:
- Use ICC Profiles: Download and use the ICC profile for the specific printer and paper type you’ll be using. This allows you to see how the colors will appear on the final print.
- Adjust if Needed: After soft proofing, you can make necessary adjustments to brightness, contrast, or colors to ensure that the image looks as good in print as it does on your screen.
Monitor Calibration:
- Calibrate Your Monitor: Use a calibration tool to adjust your monitor’s brightness, contrast, and color settings. This ensures that what you see on-screen closely matches the printed result.
Best For:
- Professional photographers who need to ensure color accuracy in prints for clients or exhibitions.
- Artists who rely on specific color tones or gradients to create the desired effect in their prints.
Contact Us
Our address is: 3816 Pioneer Trail Ste #3, South Lake Tahoe, CA 96150
Email: Info@gicleefineprints.com
FAQs
For large-format prints, like canvas or fine art paper, a resolution of at least 300 DPI is recommended to maintain detail and clarity.
TIFF is the best format for high-quality printing, as it maintains the full image resolution without compression.
Divide the pixel dimensions of your image by the print size in inches to calculate the DPI. For example, an image that is 3600 pixels wide and printed at 12 inches will have 300 DPI.